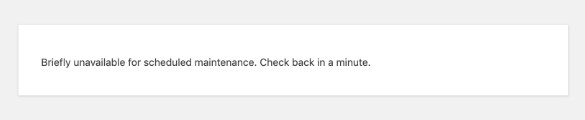
To remove the `.maintenance` file in WordPress via cPanel File Manager, follow these steps:
1. **Log in to your cPanel account**: Access your cPanel by visiting the URL provided by your hosting provider and logging in with your credentials.
2. **Open the File Manager**: Look for the “File Manager” icon in the “Files” section and click on it.
3. **Navigate to the WordPress Root Directory**: In the File Manager, navigate to the root directory of your WordPress installation. This is typically the `public_html` folder or a subfolder if WordPress is installed in a subdirectory.
4. **Locate the `.maintenance` File**: Look for a file named `.maintenance` in the root directory. If you don’t see it immediately, make sure that hidden files are visible by clicking on “Settings” in the top right corner of the File Manager and checking “Show Hidden Files (dotfiles).”
5. **Delete the `.maintenance` File**: Right-click on the `.maintenance` file and select “Delete.” Alternatively, select the file and click the “Delete” button in the File Manager toolbar. Confirm the deletion if prompted.
6. **Check Your WordPress Site**: After deleting the `.maintenance` file, visit your WordPress site to ensure it is back online and functioning correctly.
By removing the `.maintenance` file, you should restore access to your WordPress site if it was stuck in maintenance mode.